
In this step, you'll build a simple HUD where one button turns a cube orange and another turns it black. Once it works, you can grow it into any HUD you like.
1. Prepare the buttons
Your HUD can be any linkset. Here, the black prim is the root: it needs no special name or description. The blue prims are the buttons.
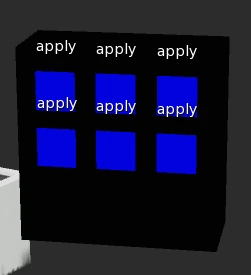
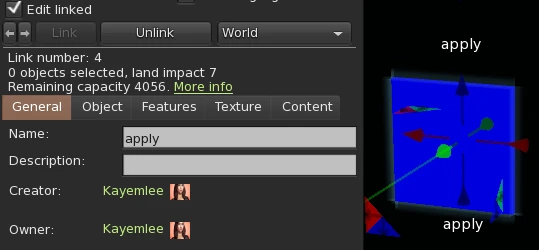
Name every button apply: that's how the HUD knows a click on it applies a texture set. Leave their descriptions empty for now.
2. Add the .config HUD script
Untick Edit linked to select the whole HUD, drop the .config HUD script into its contents, and double-click the script to open it.
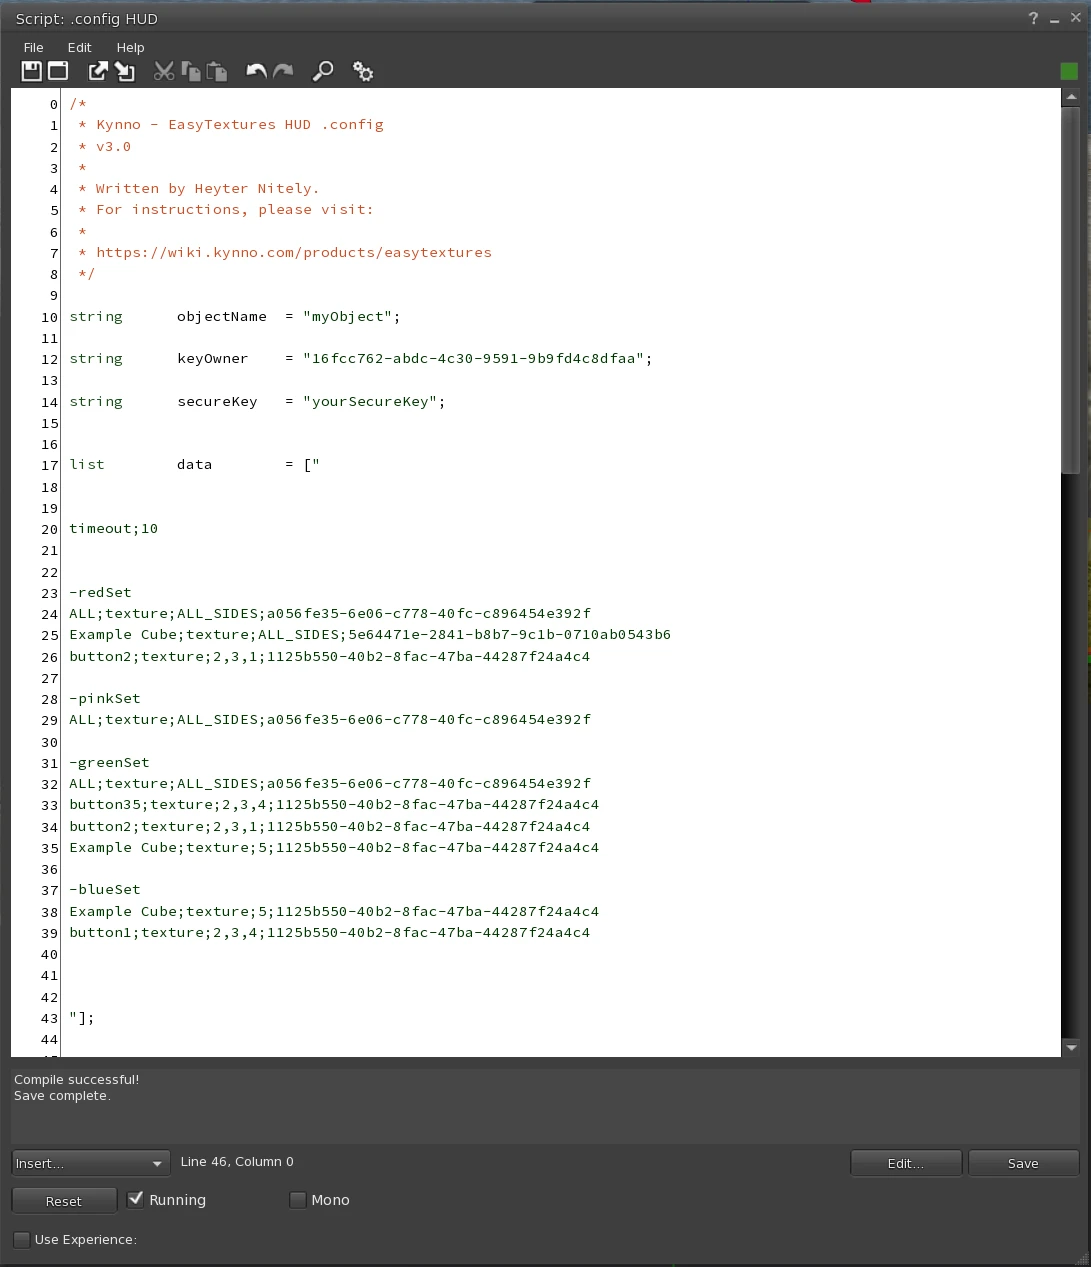
- Line 10 is your object's name, exactly as you wrote it on line 10 of the object's
.config. - Line 12 is your avatar's UUID, as in the object's
.config. - Line 13 is your secure key. It's unique to your avatar, and encrypts the UUIDs of your texture sets. To get it, wear
Kynno - User Secure Key (wear/add)and click it.
The script comes with a few sample instructions, on lines 20 to 39. Delete them: you'll write your own.
3. Write your texture sets
A texture set starts with its name, after a -. Each line below the name is an instruction: what to change, on which prim and which faces. Instructions reference lists everything an instruction can do.
Start a set named orange:
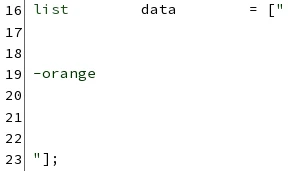
Below it, add an instruction that applies an orange texture to every face of the prim named Astre - Damaged Cube:
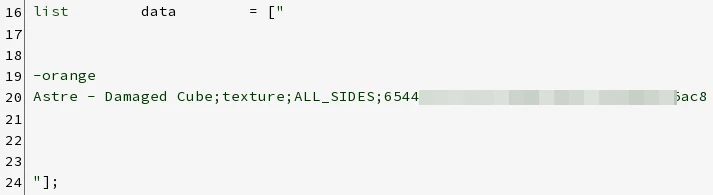
Add a second set, black, the same way:
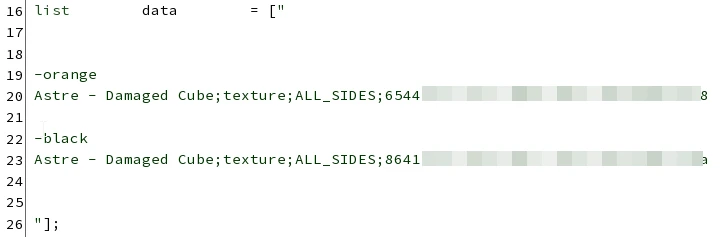
Then save the script.
4. Add the HUD script
Drop the Kynno - EasyTextures HUD script into your HUD. It reads your texture sets, and tells you in local chat what it found:
[12:49:27] Object: Initializing HUD EasyTextures...
[12:49:28] Object: ⚠️ EasyTextures: Processing orange...
[12:49:28] Object: ⚠️ EasyTextures: Processing black...
[12:49:28] Object: ⚠️ EasyTextures: Object name detected: myObject
[12:49:28] Object: ⚠️ EasyTextures: Process complete ! We found a total of 2 textures pack(s) in your script. You can now delete the script if you are done with your configuration.
[12:49:28] Object: Memory free: 40740
5. Link the sets to the buttons
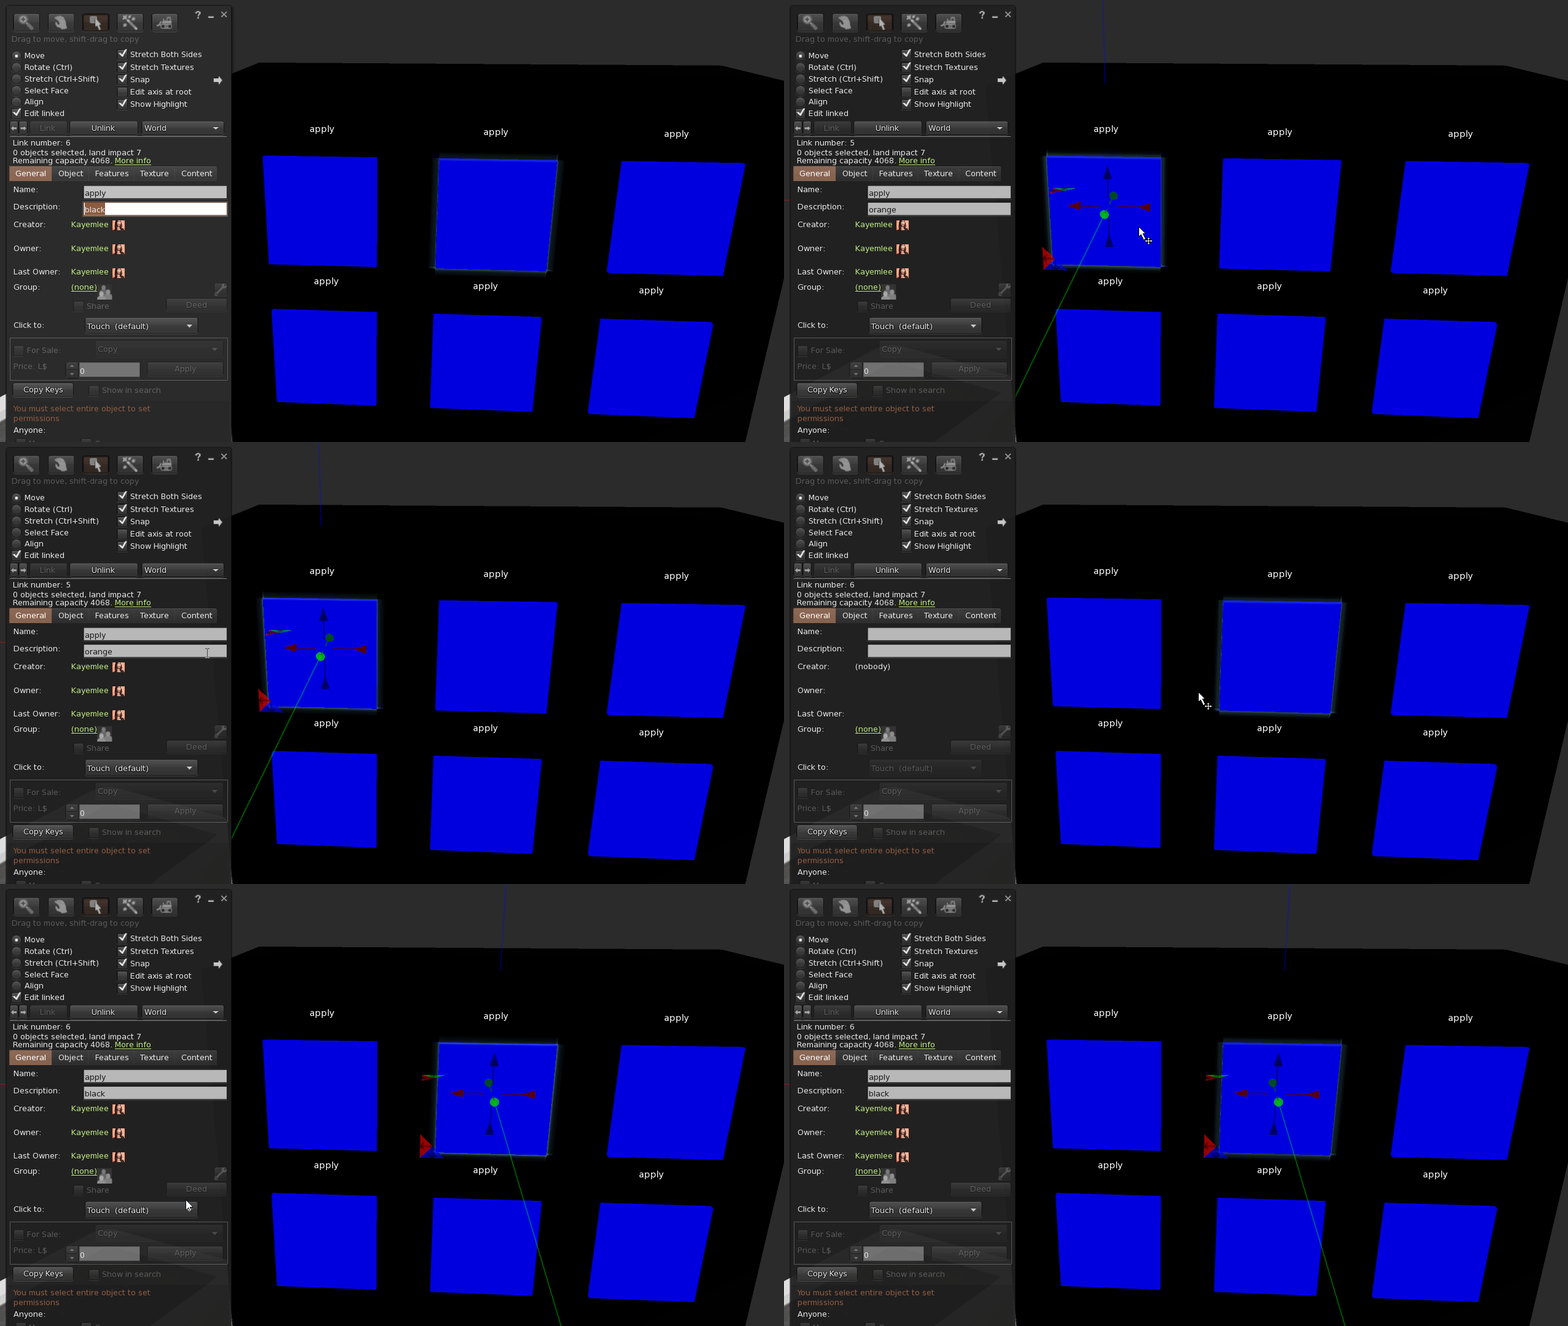
Select an apply button, and write the name of a texture set in its description: orange. On another button, write black.
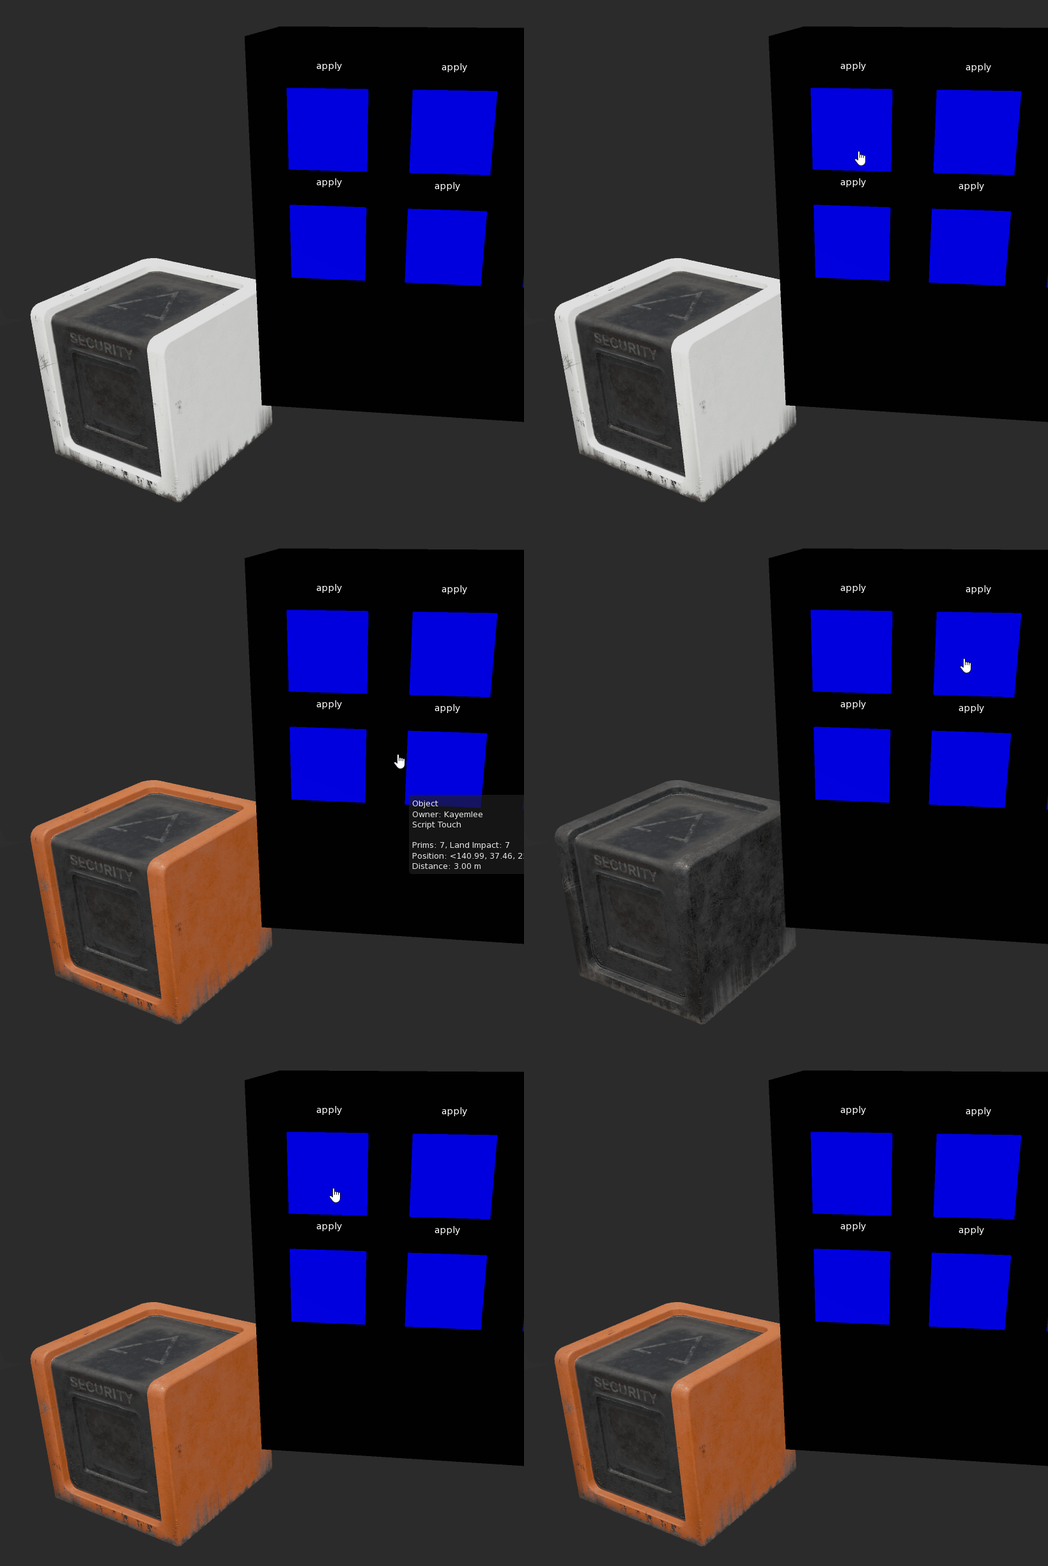
That's it: click a button, and your object changes.
Before you release your product
Once your HUD works, you can delete both .config scripts. We recommend keeping the .config in your object, though: it holds nothing sensitive and costs no script usage.
If a customer copies the object with Shift and drag, the copy loses its settings (the object name and touchtoapply) unless the .config is still inside. If you delete it, ask your customers to rez the object from their inventory instead.
Next, give your HUD more than texture buttons with Add action buttons, or see complete HUDs in the Examples.